This post contains affiliate links.
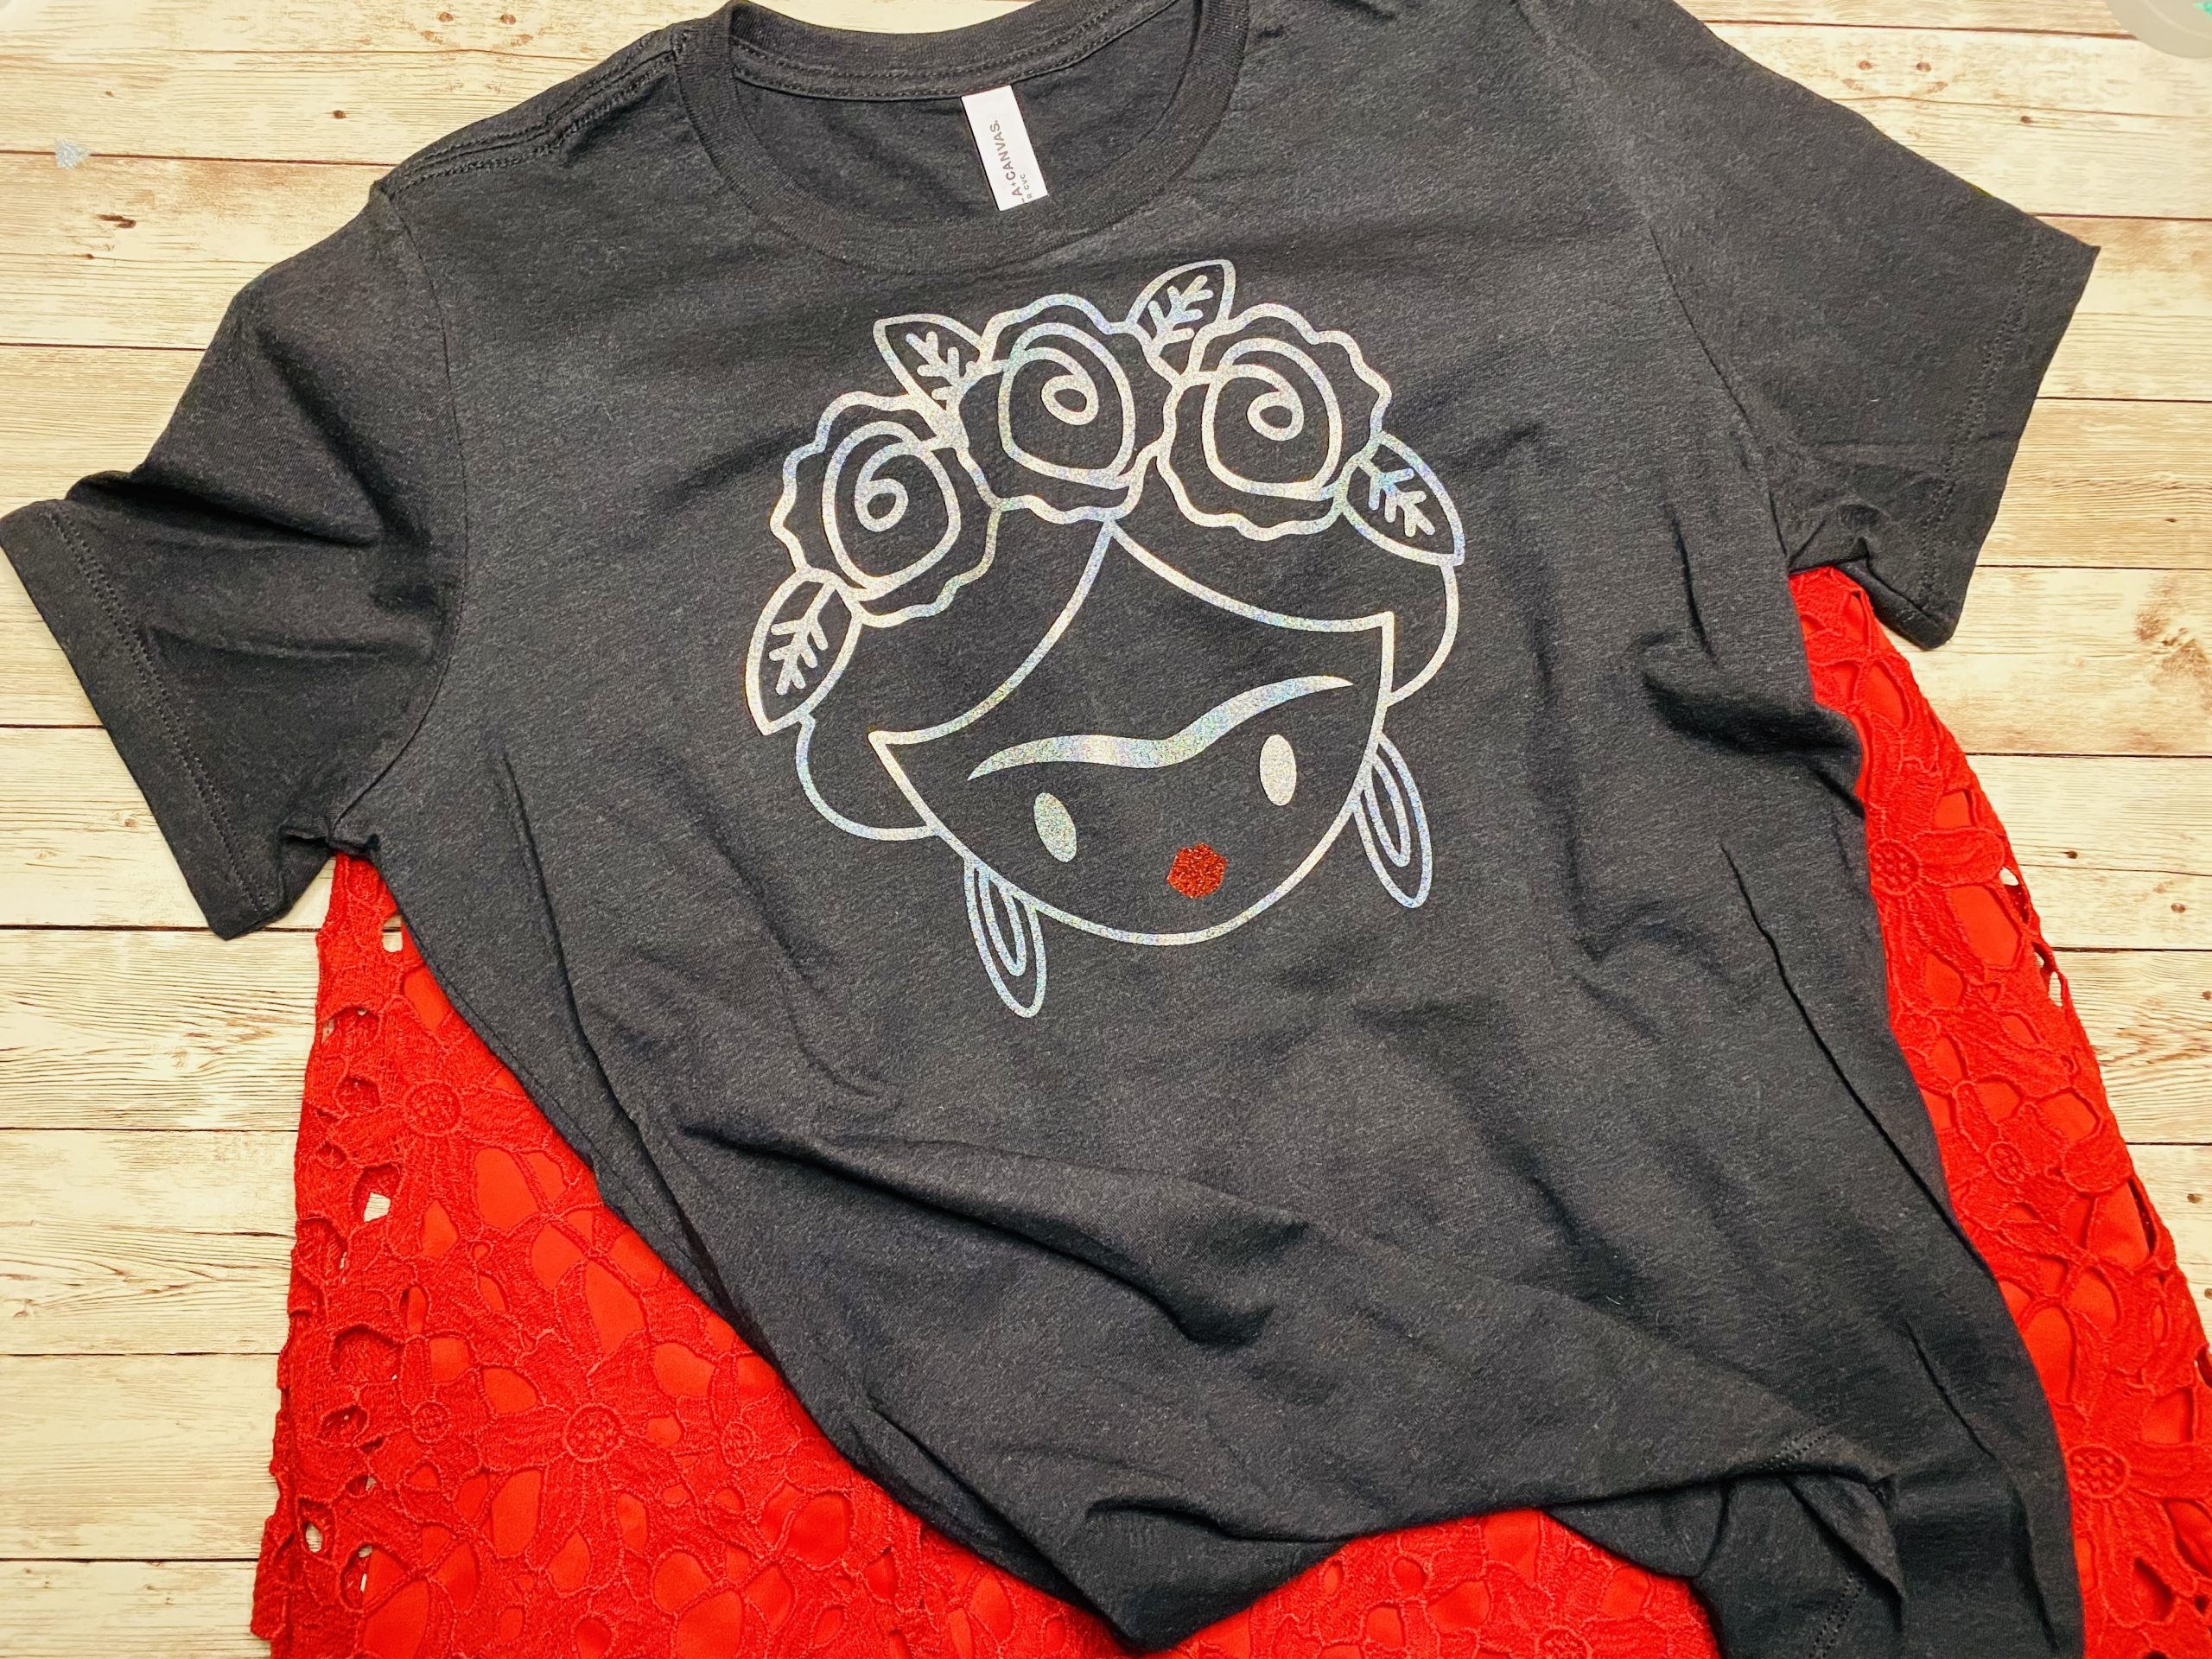
Are you wondering how to celebrate Cinco de May in casual fashion? How about this cute and easy to make Frida Kahlo tshirt to get you started. This looks uber cute and casual to wear with your favorite shorts, jeans, or skirt and comfy tennis shoes for that laid back style.
Frida Kahlo was a famous Mexican artist with a unique talent for art and images. Her her paintings and drawings were to become an iconic symbol for the Mexican art scene.

Materials
- Bella Canvas Tshirt in size of your choice – I got these from Amazon. It is recommended that you prewash your shirt in case it shrinks a little.
- Vinyl color of your choice – I use these that I found on Amazon they work great and survive the washing machine.
Tools
- A cutting machine such as the Cricut Explore or Cricut Maker I have this one. You can also use a Silhouette machine.
- I use the Cricut Heat Press 12 x 12 and a Cricut Easy Press Mat in size 16 x 24. I love it because it heats very evenly but you can also accomplish this DIY with an regular iron, if you are using an iron make sure to have a clean plain cotton cloth so that you can put that in between the iron and your design/material.
- Tools to weed out the fine details today I am still trying out my new one I ordered on Amazon which is this one.
Instructions
Gather your materials and prepare the scene
STEP 1: Purchase and download your Frida Kahlo SVG from my Etsy Store.
STEP 2: Once you have downloaded your file, upload your SVG into Cricut Design Space.
STEP 3: I sized my uploaded SVG to be 9 inches wide for my shirt. I also wanted a little flair so I decided to use multi color glitter heat vinyl for the outline and RED glitter heat vinyl for the lips.
In order to accomplish the two colors, I made my Frida to the size I wanted which was 9 inches. I then copied the Frida and clicked on the copy, I than selected “Hide Contours” found on the lower right hand side of Design Space. I found and selected the lips only and clicked on “Hide all Contours” at the lower right hand side of the box. Now everything will be hidden except the lips! Check out the picture below.

Click on Contour 
Find and Click on the lips then click on
“Hide all Contours”
STEP 4: Click on “Make it” along the top right hand corner. DO NOT FORGET TO CLICK ON MIRROR! along the left hand side. Also! Make sure that you have laid your heat vinyl with the “carrier” or the shiny side down. I cannot tell you how many times I have messed this up! After you have verified the mirror is on and your material is laid shiny side down click on “Continue”. For the material I selected “Glitter Iron-On”. Once it was all nice and cut lets get ironing!
Cricut Easy Press and Press Mat Directions
- Choose a Firm base to setup as you will be applying pressure. (I usually use the kitchen table)
- Because my shirt is 90% cotton I set my Cricut Heat Press to heat up to 330 degrees and the time for 30 seconds.
- Lay your shirt on the Easy Press Mat and preheat your shirt using the heat press for about 10 seconds on each side.
- (optional) A little trick I use to help center my design is to fold the shirt in half and lightly iron it so that you can have a light crease to guide you along the middle.
- Lay your weeded image shiny side up on your shirt where you would like it to be. (Since we made the lips in red I trimmed as much as possible and placed the lips under the main carrier sheet (check out the video below)
- Place your Cricut Heat Press on top of of your design and hit the Cricut “C” so that the timer will start for 30 seconds.
- Then flip and iron on the back for an additional 15 seconds.
- Peel the “carrier” sheet while warm. This is why I love my heat press so much because I can be dorky sometimes, I need specifics.
Regular Iron Directions
- Start your project on a firm base such as a ironing board as you will be applying pressure.
- Make sure the steam setting is off and that you are on the Cotton Heat Setting.
- Preheat the shirt for 10 – 15 seconds
- (optional) A little trick I use to help center my design is to fold the shirt in half and lightly iron it so that you can have a light crease to follow along the middle.
- Place your “weeded” image with the shiny side up. (Since we made the lips in red I trimmed as much as possible and placed the lips under the main carrier sheet (check out the video below)
- Use a clean cotton cloth (like a dish towel) to lay on top of your design to protect it from the heat of the iron.
- Use medium pressure for 25-30 seconds to each part of your design.
- Flip your shirt over and use medium pressure for 25 seconds.
- Wait until it cools and peel the plastic “carrier” sheet off.
- If for any reason parts of your design do not stick to your shirt, place the carrier sheet back on and the clean cotton cloth and go over the design for another 10 seconds.
Listo! Pair with your favorite shorts, skirt, jeans and comfy shoes! Share your design with us! Tag us in Instagram @cheekyminds Keep it Cheeky!
